Kuromi’s one of Sanrio’s most popular characters, known for that devil-may-care attitude and those trademark devil horns. Want to draw her? This guide breaks it down into simple, beginner-friendly steps. No jargon, no overwhelm, just a straightforward walkthrough of the whole process.
Follow along and you’ll draw Kuromi, seriously, even if you’ve never picked up a pencil for this before. All you need is a pencil and paper. That’s genuinely it. No expensive supplies. No special equipment cluttering your desk. Just you, a blank page, and the willingness to try.
Let’s get started!
Gathering your simple drawing supplies
I remember the first time I tried to draw Kuromi. I was so excited, but I didn’t have the right tools, and it showed. Let’s make sure you’re set up for success.
A standard #2 or HB pencil is perfect for sketching. It’s not too dark, which means you can easily erase and adjust your lines.
You’ll also need some plain paper or a sketchbook. Honestly, I go with a sketchbook, keeps everything in one spot, and flipping through old drawings later is pretty satisfying.
Don’t forget a good quality eraser, mistakes happen, and you’ll want to fix them without shredding the paper. It’s one of those tools that seems simple until you’re stuck with a cheap one that just smudges everything around.
For finishing touches, consider a black fine-liner pen. It helps create clean, crisp outlines that make your drawing pop.
Coloring supplies like markers or colored pencils are great for adding life to your drawing. I love using markers for their bold, lively colors.
Black and dark grey for her hat, a lively pink for the skull emblem, lighter pink for the blush details, that combo nails Kuromi’s whole thing. She’s edgy but cute all at once, and the colors just prove it.
Start with light pencil strokes. You can erase and adjust them easily before you commit to darker, final lines. It’s the same reason you’d dip your toe in before diving.
Keep a clear reference image of Kuromi pulled up on your phone or computer while you work. You’ll nail her specific details and proportions so much better that way, her proportions especially matter.
Now, let’s get started on kuromi tekenen!
Breaking down kuromi’s key features before you draw
Kuromi’s most iconic feature is that black jester hat. It’s got two large, pointed ‘ears’, one of them usually droops just a bit, which honestly gives her a lot of personality.
Moving on to that prominent pink skull emblem smack in the center of her hat. It’s simple enough, really, a rounded skull with two small crossbones tucked underneath, the kind of thing you’d see on a vintage motorcycle jacket or a pirate flag from a kids’ cartoon. No flourish. No extra detail. Just the core symbol, rendered in that unmistakable pink that commands attention from ten feet away.
Now, let’s talk about her head and face structure. Her head’s wide and rounded, that’s the Sanrio trademark, really, and everything else builds from there.
Her expressive face is key. The eyes are simple ovals, but her personality shines through her mischievous smirk and tiny, triangular nose.
Don’t forget other defining characteristics. She wears a fluffy white ruff or collar, and her thin, devil-like tail completes her rebellious look.
When you’re ready to draw Kuromi, keep a few key details in mind. Start with basic shapes, that’s your foundation. Then layer in the specific features that make her unmistakably her. Do this and you’ll nail her unique style and personality.
Remember, practice makes perfect. Try drawing Kuromi a few times to get a feel for her proportions and expressions.
Kuromi tekenen can be a fun and rewarding experience if you take it step by step.
Step 1: sketching the foundational head and hat
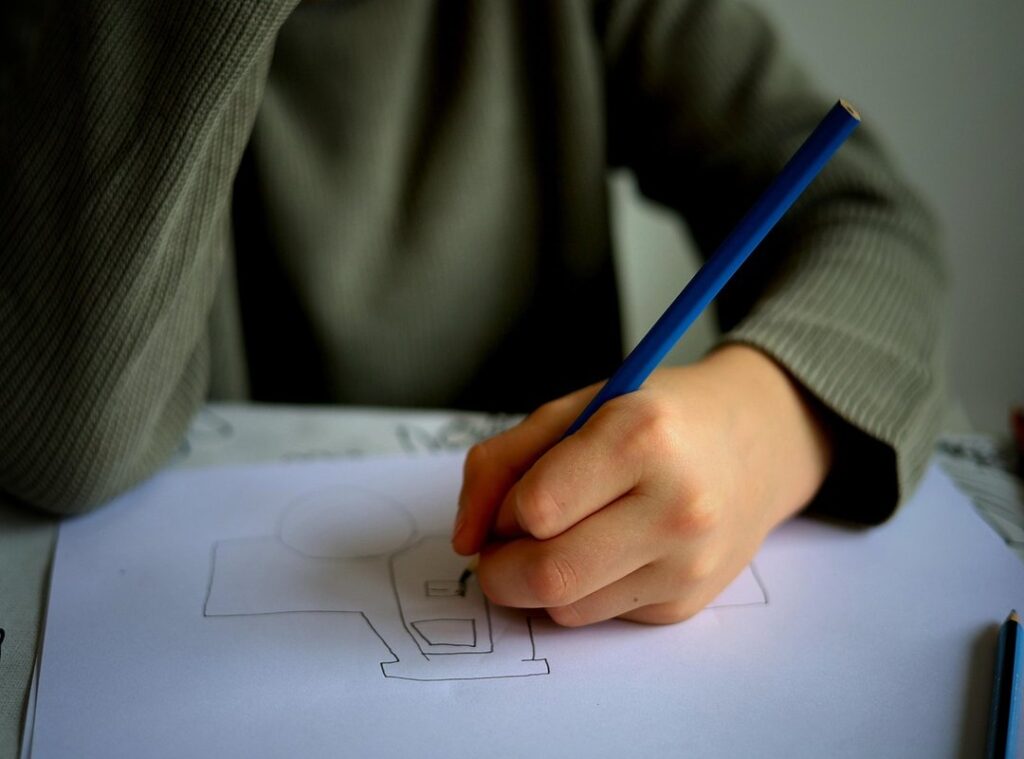
Let’s start with the basics. Draw a large, slightly wide circle in the center of your paper. This will be the main guideline for Kuromi’s head. Ttweakhotel
Next, add two large, triangular shapes on top of the head-circle to form the hat’s ears. Make one ear point straight up and the other one flop over slightly.
Now, connect these shapes and refine the outline of the hat. You want it to look like a single, cohesive piece sitting on her head.
Moving on, sketch the jester collar at the base of the head. Use a series of connected, rounded ‘U’ shapes to create that fluffy texture.
Start with a small circle for the skull’s head on that hat emblem. Tiny ovals work for the eyes. Two small lines make the crossbones. Done.
Remember, use very light, erasable pencil lines for this entire foundational stage. These are just guides that will be refined later.
Follow these steps and you’ve got a solid foundation for your kuromi tekenen. It looks simple enough, but nailing the proportions early? That’s everything. Get this part right and the whole drawing accelerates. Skip it, and you’re fighting the rest of the way.
Step 2: adding facial details and her body

Start by sketching faint vertical and horizontal guidelines across the head-circle. They’ll keep your facial features balanced and in the right spots. This simple step matters more than you’d think, it’s the difference between a face that feels off and one that actually works.
Next, draw two simple ovals for her eyes along that horizontal guideline. Keep ’em evenly spaced. Small detail, yeah, but it changes everything about how the face reads.
For her nose, sketch a very small, inverted triangle right where the two guidelines intersect in the center of her face. Simple, right?
Now add that signature expression, a confident, slightly off-center smirk. A simple curved line does the trick, gives her real character. The little details? They’re everything.
Finally, sketch her small, simple body beneath the collar. It’s typically much smaller than her head, just a basic torso, two arms, and that pointy tail. Keep it minimal. Less is more with this style.
Step 3: inking, coloring, and finishing touches
Once your pencil sketch is done, go over the final lines with a black fine-liner pen. Trace carefully. This step gives your drawing that bold, clean finish, the kind that really makes it pop on the page.
Wait a few minutes for the ink to dry completely. Then grab an eraser and remove all the visible pencil guidelines underneath. Small step, sure, but it transforms the final look.
Now, let’s talk coloring. Use black or dark grey for the hat. Bright pink works well for the skull and collar details.
Leave her face and body white, and this contrast really makes the design pop.
A final, charming detail can really enhance her cute-but-mischievous appearance. Color two small pink ovals on her cheeks for blush. It’s simple, but it transforms the whole thing, genuinely. That splash of pink gives her actual character and life you wouldn’t expect from such a small touch.
Into Kuromi drawing? Here’s how to nail that edgy look without making her look like every other angry character. Start with her signature eyes, sharp, slanted, full of attitude. The proportions matter (especially that oversized bow, which throws off the whole face if you mess it up), and the devil horns need to sit just right. Her outfit’s got layers, yeah, but the real magic is in the attitude you put into every line. The stroke work itself, that’s just repetition. Practice constantly and your hand’ll get faster. Eventually the style just clicks. You stop thinking about each stroke and let your hand take over.
Keep practicing and share your kuromi creation
This guide walked you through three key moves: sketch basic shapes, layer in the details that actually make something look like itself, then ink and color it in. Drawing gets better the more you do it, that’s just how it works. Your early sketches won’t be perfect, and honestly, they don’t need to be. What counts is enjoying what you’re doing. That’s it.
Try drawing Kuromi tekenen with different facial expressions or in a full-body pose. This pushes your skills hard. You’ll discover how much range a character can have when you shift an eyebrow, twist the mouth, or plant them in an awkward stance (maybe sitting backwards on a chair, or hunched over). Variety like that keeps your work fresh.
Be proud of what you’ve created. Share that finished Kuromi drawing with friends or family. It’s a genuine way to celebrate how far you’ve come, and honestly, it might spark something in someone else too, the kind of thing that sticks with people.
 Thomass Langsabers brings a fresh and insightful voice to T Tweak Hotel, contributing content that helps travelers navigate the world with greater ease and confidence. With a strong focus on travel trends, destination highlights, and practical hotel booking strategies, Thomass creates engaging pieces that blend inspiration with useful guidance. His approach supports readers who want both exciting travel ideas and smart tips that make every journey more seamless and rewarding.